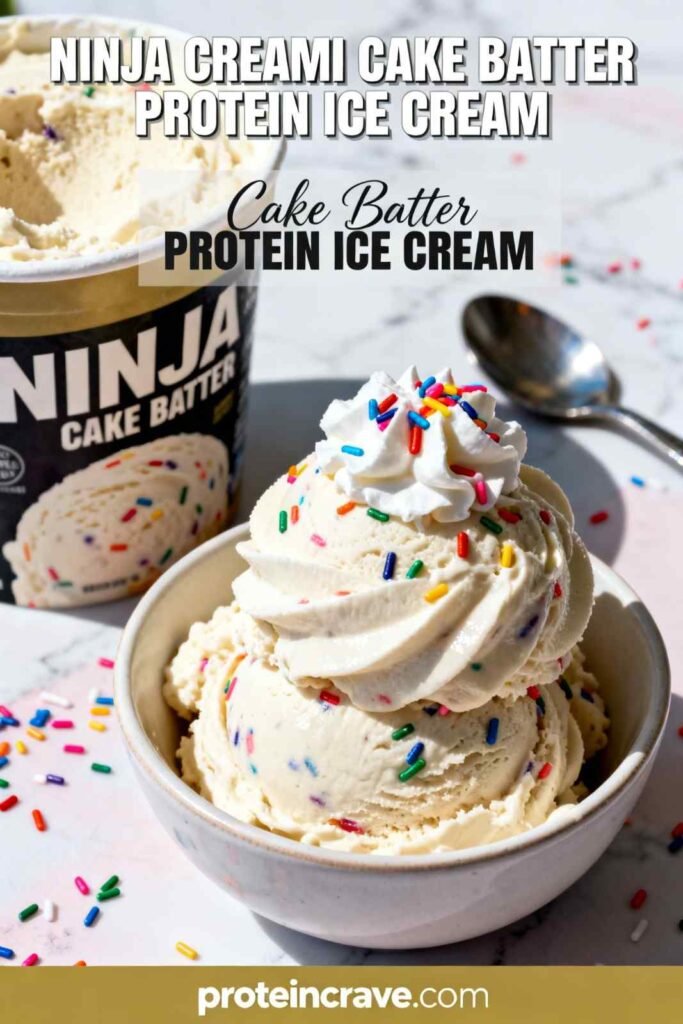
If you’re someone who loves dessert but also cares about hitting your protein goals, this Ninja Creami Cake Batter Protein Ice Cream is about to become your new obsession. Combining the nostalgic flavor of classic cake batter with a high-protein, low-guilt formulation, this recipe delivers indulgence without compromise.
The magic of the Ninja Creami lies in its ability to transform a frozen base into ultra-creamy ice cream with minimal fat and sugar. Unlike traditional ice cream makers, it allows you to create protein-packed frozen treats that taste just as rich and satisfying as store-bought options.
This recipe is perfect for fitness enthusiasts, busy individuals looking for quick desserts, or anyone who enjoys experimenting with healthier alternatives. The cake batter flavor—complete with vanilla notes and colorful sprinkles—brings fun and nostalgia into a macro-friendly dessert.
https://www.youtube.com/watch?v=w95YcKDjT2Y
Ingredient Notes
Milk Milk acts as the base liquid. Dairy milk provides a richer texture, while almond milk or other plant-based options create a lighter version. The fat content will directly impact creaminess.
Vanilla Protein Powder This is the core of the high-protein content. Choose a high-quality protein powder with a smooth texture. Whey protein creates a creamier consistency, while plant-based protein may require extra blending.
Sugar-Free Pudding Mix This ingredient is key for texture. It helps thicken the mixture and gives the ice cream a creamy, scoopable consistency without adding extra fat.
Sweetener You can adjust sweetness based on your preference. Erythritol or monk fruit keeps it low-calorie, while honey or maple syrup adds a more natural sweetness.
Vanilla Extract Enhances the cake batter flavor and adds depth to the ice cream.
Almond Extract This is the secret ingredient for that authentic “cake batter” taste. Use sparingly, as it has a strong flavor.
Salt A small pinch enhances all flavors and balances sweetness.
Sprinkles Adds visual appeal and texture. Use high-quality sprinkles that don’t bleed color excessively.
Greek Yogurt (Optional) Adds creaminess and boosts protein content. It also improves texture, making the ice cream smoother.
Serving Instructions
Serve immediately after spinning for the best soft-serve texture. Scoop into bowls or cones and top with:
Extra sprinkles
Whipped cream
Crushed cookies
White chocolate drizzle
For a more indulgent presentation, serve in a waffle cone bowl or layered dessert glass.
Tips
Always freeze the base completely flat for even processing
Use high-quality protein powder for better taste and texture
Don’t skip the pudding mix—it’s essential for creaminess
Re-spin multiple times if needed for a smoother texture
Add mix-ins only after the initial spin
Adjust sweetness before freezing, not after
Storage Information
Freezer: Store leftovers in the Ninja Creami container with a lid for up to 1 week.
Re-Spinning: Before serving again, re-spin to restore creamy texture.
Avoid Freezer Burn: Keep the surface smooth and tightly sealed.
A creamy, high-protein cake batter-flavored ice cream made using the Ninja Creami. It’s rich, smooth, packed with protein, and topped with fun sprinkles for a classic birthday cake vibe.
Ingredients
1½ cups milk (dairy or almond milk)
1scoop vanilla protein powder
2tablespoons sugar-free pudding mix (vanilla)
2–3 tablespoons sweetener (erythritol, stevia, or honey)
1teaspoon vanilla extract
¼ teaspoon almond extract (optional, for cake batter flavor)
Pinch of salt
1–2 tablespoons rainbow sprinkles (for mix-in)
Optional: 2 tablespoons Greek yogurt (for extra creaminess)
Instructions
Step 1: Prepare the Base
1
In a mixing bowl or blender, combine milk, protein powder, pudding mix, sweetener, vanilla extract, almond extract, and salt. Blend or whisk until completely smooth and lump-free.
Step 2: Add Creaminess
2
If using Greek yogurt, mix it in thoroughly until the base becomes slightly thick and creamy.
Step 3: Freeze the Mixture
3
Pour the mixture into the Ninja Creami pint container. Ensure it is level and place it in the freezer on a flat surface. Freeze for at least 8–12 hours (preferably overnight).
Step 4: First Spin
4
Remove the frozen pint and place it into the Ninja Creami. Select the “Lite Ice Cream” or “Ice Cream” function.
Step 5: Re-Spin if Needed
5
After the first spin, the texture may appear crumbly. Use the “Re-Spin” function once or twice until smooth and creamy.
Step 6: Add Mix-Ins
6
Create a small hole in the center of the ice cream and add sprinkles. Use the “Mix-In” function to distribute them evenly.
Step 7: Final Texture Adjustment
7
If the ice cream is still too firm, add 1–2 tablespoons of milk and re-spin for a softer consistency.
Nutrition Facts
Servings 3
Amount Per Serving
Calories250kcal
% Daily Value *
Total Carbohydrate15g5%
Sugars5g
Protein25g50%
* Percent Daily Values are based on a 2,000 calorie diet. Your daily value may be higher or lower depending on your calorie needs.
Note
Tools
Ninja Creami machine
Ninja Creami pint container
Blender or whisk
Measuring cups and spoons
Spatula
Freezer
Keywords:
keto, low carb, high protein
Did you make this recipe?
Pin this recipe to share with your friends and followers.
Samantha Doe
Chef
Samantha Doe is a passionate food creator and health enthusiast behind the high-protein recipes featured on ProteinCrave.com. She specializes in developing simple, flavorful, and protein-packed meals that support an active and balanced lifestyle. Through Protein Crave, Samantha shares easy-to-follow recipes designed to make healthy eating both satisfying and delicious.
Thank you so much for downloading this recipe from ProteinCrave.com! We truly appreciate your support and are excited to be part of your healthy cooking journey.
We hope this recipe adds something delicious and protein-packed to your table. Don’t forget to share your creation and tag us — we love seeing what you make!
Stay strong, stay healthy, and keep craving protein!